Delete blank rows in google sheets a step-by-step guide
Learn the quickest way to remove blank rows in Google Sheets - perfect for keeping your spreadsheets clean and organized.
When dealing with a small dataset in Google Sheets, manually removing empty rows can be quicker than setting up complex tools or formulas. Let me show you how to handle those pesky blank rows, both manually and using filters.
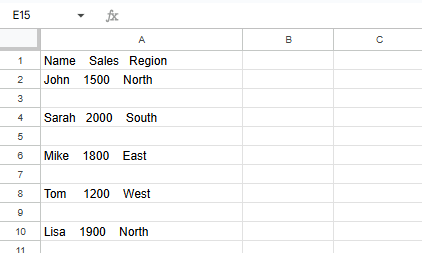
Let's work with this sample data to make it crystal clear:
Method 1: Manual Removal (Perfect for Small Datasets)
Open your spreadsheetsome text
Look for empty rows scattered through your data
Select Multiple Empty Rows
Press and hold Ctrl (if you're on Mac, use Command)
Click each row number on the left that's empty
You'll see them highlight in blue as you click
Remove the Rows
Right-click any of the blue-highlighted row numbers
Look for "Delete selected rows" in the menu that pops up
Click it to remove all selected rows at once
Method 2: Using Filters (Better for Larger Datasets)
When you're dealing with a larger spreadsheet, filters become your best friend. They can either hide empty rows temporarily or help you identify them for deletion. Here's how:
Select Your Data Range
Click and drag from the first cell to the last
Include all columns and rows, even the empty ones
Add Your Filter
Find the filter icon (looks like a funnel) in the toolbar
Click it to activate filters
Filter Out Empty Rows
Click any column's filter arrow
Go to "Filter by condition"
Choose "Is not empty"
Click "OK"
Pro tip: Before you start deleting rows, especially in a large spreadsheet, make a copy of your sheet. This gives you a safety net in case you need to revert any changes.